How to Apply Nail Stickers Without Lifting
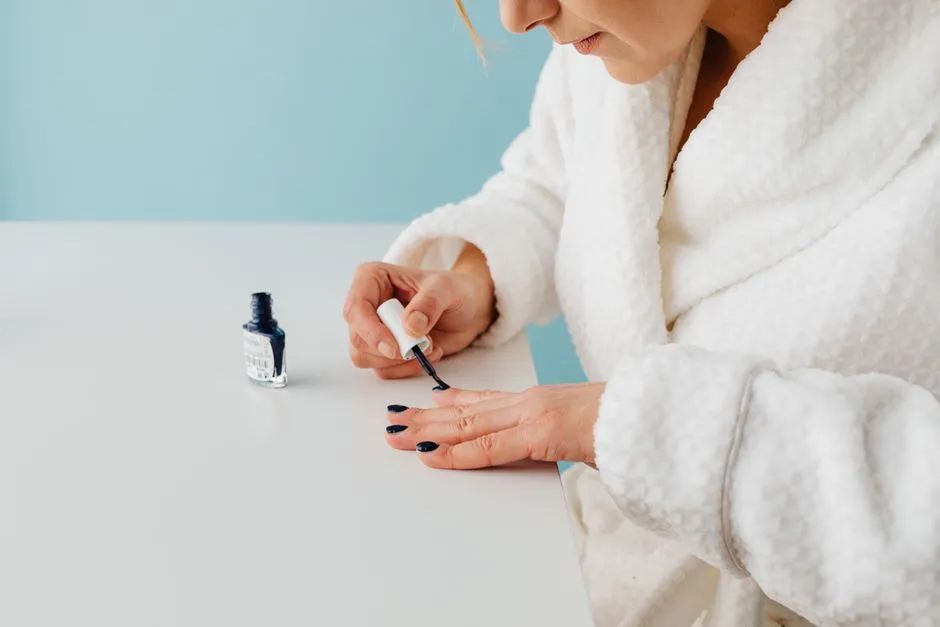
- Apply nail stickers to a clean, fully set surface
- Identify the product before using it
- Gather a small, controlled kit
- Prepare without thinning the natural nail
- Size the sticker inside the nail boundaries
- Apply a small adhesive accent sticker
- Apply a full-cover nail strip
- Apply a water-slide decal without confusing it for a sticker
- Treat lamp-cured strips as a separate system
- Seal without dragging the design
- Diagnose the exact lifting pattern
- Use a ten-nail working order
- Remove the product by its own system
- Sources
Apply nail stickers to a clean, fully set surface
For smooth nail stickers, prepare and dry the nail, choose a sticker slightly smaller than the available nail area, lift it with tweezers, place the center first, and press outward toward the edges. Keep adhesive off the cuticle and surrounding skin. Seal only if the sticker maker says the material is compatible with your top coat. For full-cover strips, water-slide decals, and lamp-cured gel strips, follow the separate method for that product type.
Most lifting starts before the sticker touches the nail: the base is still soft, oil remains on the surface, the sticker crosses onto skin, or the size is too wide for the curve. Fix those four conditions and placement becomes much less dramatic.
Identify the product before using it
"Nail sticker" covers several products that behave differently.
| Product type | How it arrives | How it attaches | Main instruction to verify |
|---|---|---|---|
| Adhesive accent sticker | Small motif on a carrier sheet | Pressure-sensitive adhesive | Whether top coat is recommended |
| Full-cover polish strip | Nail-sized color or design strip | Adhesive layer across most of the nail | Sizing, stretching, trimming, and sealing method |
| Water-slide decal | Thin printed film on paper backing | Film releases in water and sits on the nail | Soak time and top-coat compatibility |
| Lamp-cured gel strip | Soft or partly cured full-cover strip | Adhesive plus a specified cure step | Compatible lamp, cure program, skin-contact warning, and removal method |
Do not improvise across rows. A decorative accent may wrinkle if soaked. A water-slide decal will not behave like a peel-and-stick motif. A gel strip that requires curing is not finished because it feels firm before the specified lamp cycle.
Read the package before opening every layer. Keep its ingredient list, lot information, cure directions, and removal instructions until the manicure is off. The U.S. Food and Drug Administration's nail product guidance says to follow labeled directions and warnings, use good ventilation, and avoid skin contact where directed because reactions can occur.
Gather a small, controlled kit
For adhesive accents or full-cover strips, set out:
- soap and water for the hands;
- a clean towel;
- the sticker sheet and its instructions;
- clean tweezers;
- a wooden manicure stick or soft silicone tool if the instructions permit it;
- small scissors used only if the product requires trimming;
- base color, if wanted;
- the compatible top coat named or permitted by the sticker maker; and
- a small waste dish for carrier film and trimmed pieces.
Use clean tools and do not share items that contact the nail or surrounding skin without proper cleaning. Do not cut or push back the cuticle for sticker placement. The American Academy of Dermatology explains in its artificial-nail guidance that cuticles protect the nail and surrounding skin from infection.
Skip decoration on a nail or surrounding skin that is painful, swollen, bleeding, visibly infected, newly injured, or separating from the nail bed. Nail art does not diagnose or treat those changes. Persistent or concerning nail changes belong with a healthcare professional.
Prepare without thinning the natural nail
Wash and dry the hands thoroughly. Remove old polish by the method appropriate to that polish system. Shape the free edge before opening the stickers, then brush away filing dust.
Do not aggressively buff or file the top of the natural nail to make a sticker grip. If a particular strip requires surface preparation, follow its exact instructions and stop if they conflict with professional care already given for the nail.
For bare-nail application, the surface should be clean and dry. For application over regular polish, let every color layer become fully set, not merely dry to a light touch. Press a fingertip gently against a test nail away from the design area. If it dents, drags, or takes a print, wait. There is no universal minute count because coat thickness, polish formula, temperature, and humidity change the result.
Choose a workspace with steady light and ventilation. Keep nail products away from flames, sparks, cigarettes, and hot styling tools. FDA notes that some nail products can catch fire near an ignition or heat source.
Size the sticker inside the nail boundaries
Measure the visible nail plate from sidewall to sidewall without including skin or cuticle. For an accent, choose a motif that leaves a clear margin around every edge. For a full-cover strip, choose the nearest size that stays just inside both sidewalls rather than the one that overlaps them.
If the product allows trimming, trim on the carrier before peeling. Cut a paper template first when the shape is complicated. A full-cover strip should follow the nail's base curve without sitting on the cuticle. Adhesive attached to skin flexes differently from the nail and creates an easy lifting point.
Plan the whole hand before placing the first sticker. Lay the selected sizes in finger order. If two nails need the same limited motif, confirm both are present before committing one.
The nail-shape guide can help identify the usable surface, but sticker sizing follows the actual nail plate, not the name of the shape.
Apply a small adhesive accent sticker
Use this method for a pressure-sensitive decorative motif whose instructions permit placement over bare nail or fully set regular polish.
- Bend the carrier sheet slightly so one edge of the motif lifts.
- Grip that lifted edge with clean tweezers. Avoid touching the adhesive with a fingertip.
- Hover over the planned location and check the margins.
- Set down the center of the sticker first.
- Press from the center toward each edge with a clean silicone tool or fingertip wrapped in clean film, if the product permits.
- Check the full perimeter under direct light.
Do not keep peeling and replacing the same sticker. Repositioning can weaken the adhesive or stretch a thin printed layer. If the placement is wrong and the sticker no longer lies flat, discard it and use a new one.
For a curved nail, press in short paths from the center toward opposite sides rather than sweeping around the perimeter. If a flat sticker consistently buckles on a strongly curved nail, choose a smaller motif. More pressure does not change its geometry.
Apply a full-cover nail strip
Full-cover strips need a clean margin and controlled tension.
- Confirm which end belongs at the cuticle and whether the strip may be stretched.
- Remove only the protective layer named in the instructions.
- Hold the strip by a tab or outer edge rather than the main adhesive area.
- Place it just above the cuticle, centered between the sidewalls.
- Smooth one narrow path from the base to the tip.
- Smooth from that center path toward each side.
- Remove excess at the free edge exactly as the manufacturer directs.
Some strips are filed downward; others are trimmed or folded before filing. Use the supplied method. Sawing sideways across a layered design can pull the strip away from the nail edge.
If the strip touches skin, remove and replace it before sealing or curing. Do not cut the attached strip against the skin. Size adjustment belongs on the carrier or free edge, where the tool can stay away from the body.
Apply a water-slide decal without confusing it for a sticker
Water-slide film releases from a paper backing after a product-specific soak. Start over a fully set base color if the instructions call for one.
- Cut around the selected decal while it is dry.
- Remove any clear protective film named in the instructions.
- Place it in water for the labeled time and temperature.
- Test whether the printed film slides on its backing; do not force it.
- Move the film onto the nail with tweezers or by sliding it from the paper.
- Position it, then blot water from the center outward without dragging the image.
- Let it dry for the stated period before applying a compatible sealer.
If the film folds onto itself, return it to the wet backing if the instructions allow and separate it without scraping. A torn or stretched decal is usually faster to replace than to disguise.
Treat lamp-cured strips as a separate system
Some gel-style strips require a specific lamp and cure program. Use only the strip, lamp, power supply, cure sequence, and removal method identified as compatible by the manufacturer. Do not borrow a cure time from another brand or keep adding cycles because the surface feels tacky.
Keep uncured material off skin and remove any accidental contact before curing, following the label. The FDA notes that infections and allergic reactions can occur with some nail products and emphasizes label directions and warnings. The AAD's gel manicure guidance discusses ultraviolet exposure from gel curing and recommends protective measures for the hands. Someone with recurring nail problems or a previous reaction should seek professional guidance before using another cured system.
Seal without dragging the design
Not every sticker needs top coat, and not every top coat is compatible with every printed film or adhesive. Check the product instructions first. If sealing is permitted, test one spare sticker over a swatch or one low-stakes accent before covering the whole set.
Load the brush enough to float a thin layer over the design without repeated strokes. Use a light pass down the center, then one on each side. Repeated brushing can pull a corner, smear printed ink, or dissolve a delicate film. Seal the free edge only when both the sticker and top-coat instructions call for it.
Keep the coating on the nail, not the surrounding skin. Let it set according to the polish instructions before using the hands normally.
Diagnose the exact lifting pattern
| Symptom | Likely check | Next attempt |
|---|---|---|
| Lifts at the cuticle | Sticker overlaps skin or the base curve is too wide | Choose a narrower size and leave a visible margin |
| Lifts at one sidewall | Sticker is off-center or too flat for the nail curve | Center first or use a smaller accent |
| Wrinkles through the middle | Outside edges were fixed before the center | Place center first and smooth outward |
| Slides after placement | Oil, moisture, or soft base polish remains | Clean and dry; let regular polish fully set |
| Tip lifts after filing | Excess-removal method or direction is wrong for the strip | Follow that strip's trimming or filing sequence |
| Print smears under top coat | Sealer and printed layer are incompatible or overworked | Test compatibility and float fewer strokes |
| Several nails react | Possible product sensitivity or irritation | Stop using the product and contact a healthcare professional |
Change one variable on the next nail. A new base coat, different sticker size, heavier pressure, and new top coat in the same attempt erase the diagnosis.
Use a ten-nail working order
Complete the manicure in stages:
- Prepare and shape all ten nails.
- Apply and fully set any regular base color.
- Lay out every sticker in finger order.
- Apply the non-dominant hand first if that gives the dominant hand more control.
- Finish both thumbs last; they handle tools and packaging during setup.
- Inspect every edge before sealing.
- Apply only the compatible finish.
For a first attempt, use stickers on one or two accent nails and leave the others in a plain color. The site's beginner nail-art guide shows how an accent nail fits into a simple design without requiring ten identical placements. More stickers are not a higher skill level. They are ten chances to repeat the same sizing decision.
Remove the product by its own system
Do not peel or scrape a sticker simply because one corner has lifted. The adhesive, base color, top coat, and any cured layer determine the correct removal route. Follow the sticker manufacturer's current instructions.
If the sticker sits over ordinary polish and the maker directs regular-polish removal, use that method. If it is sealed under gel or is itself a cured strip, use the product-specific removal process; the published gel-polish removal guide explains why picking and scraping are not shortcuts.
Stop using the product if redness, rash, swelling, burning, pain, or another unexpected reaction develops. The FDA's current cosmetic complaint guidance says the first steps are to stop using the product and contact a healthcare provider, then report the problem to FDA.
Once the product type, surface, size, placement order, and compatible finish are controlled, nail stickers become what they should be: a repeatable design shortcut. Continue with the published nail-art tutorials and keep the package instructions beside the manicure until removal is complete.
Sources
- U.S. Food and Drug Administration: Nail Care Products - labeled directions, warnings, ventilation, flammability, skin contact, and reactions.
- American Academy of Dermatology: Artificial Nails - the protective role of cuticles.
- American Academy of Dermatology: Gel Manicures - lamp exposure and nail-care precautions.
- U.S. Food and Drug Administration: Report a Cosmetic Product Complaint - response and reporting route for unexpected reactions.