Nail Art for Beginners: 10 Easy Designs to Try at Home
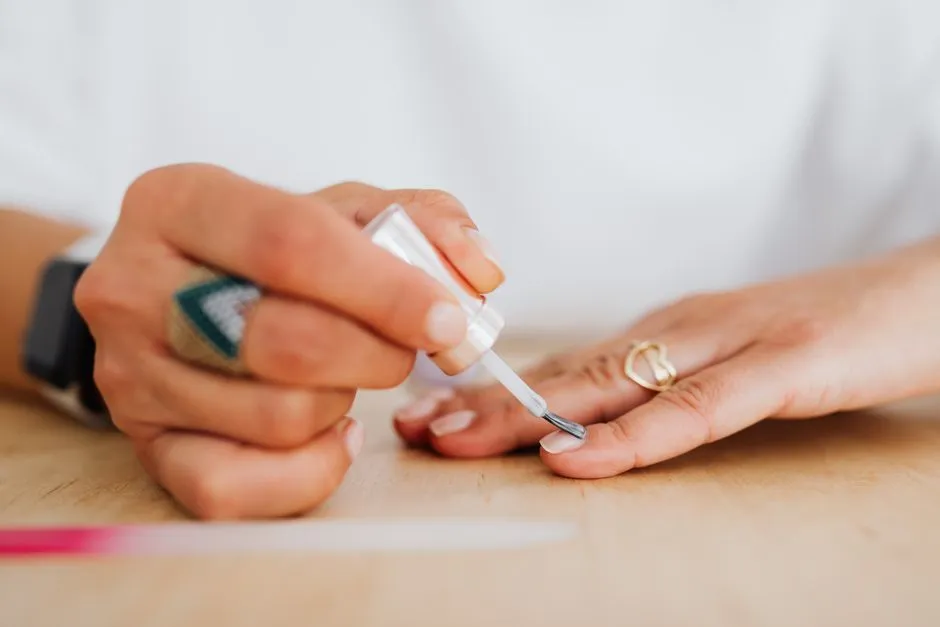
What Is the Best Nail Art for Beginners?
The best nail art for beginners uses techniques that don't depend on a steady hand: dots, tape lines, gradients dabbed with a sponge, and accent nails that only ask you to decorate one finger per hand. All ten designs in this guide can be done with regular polish and things you already own — a bobby pin, household tape, a makeup sponge. None of them require a brush skill you'd need weeks to build, and every one of them looks intentional even when it isn't perfect.
That last part matters more than any product. Beginner nail art fails when the design punishes wobbles — think freehand French tips or tiny lettering. It succeeds when the technique hides them. Dots are round no matter how you place them. Tape gives you a crisp line no brush could. A sponged gradient is supposed to look diffuse. Start there, and you'll have wearable nails on the first try.
What You Actually Need (Almost Nothing)
You do not need a nail art kit to start. Here's the honest list:
- Two or three polishes — a base color, a contrast color, and a clear top coat. The top coat is the least skippable item on this list: it smooths over small mistakes and roughly doubles how long the design survives typing and dishes.
- A bobby pin or toothpick — your dotting tool. The rounded head of a bobby pin makes larger, more even dots; a toothpick makes small ones.
- Household tape or hole-reinforcement stickers — for straight lines and curved French-style tips.
- A makeup sponge — for gradients. Cut it into small wedges so you're not wrestling a full sponge over one nail.
- Cotton swabs and remover — for cleanup around the edges. A swab dipped in remover erases skin smudges in seconds, which is faster than trying to paint perfectly in the first place.
One chemistry note worth knowing before you shop: acetone remover dissolves polish quickly and is the only thing that efficiently breaks down glitter and gel; non-acetone remover is gentler-smelling and slower, and works fine for regular cream polishes. Neither "melts" your nails — but acetone is drying, so a dab of hand cream or cuticle oil afterward is a good habit.
If you're deciding between polish systems before you even start, regular polish is the right call for learning — it's cheap, forgiving, and removable in one minute when a design goes wrong. Our gel vs acrylic comparison covers when it's worth graduating to something longer-wearing.
The 10 Easiest Designs, Ranked by Difficulty
Each design below lists what it needs and roughly how long it takes including drying time. Times assume regular polish; thin coats dry in about 10–15 minutes to the "safe to work over" stage, and a full manicure needs an hour or more before it's truly hard.
1. Polka Dots
Needs: two polishes, bobby pin. Time: ~30 minutes.
Paint your base color and let it dry to the touch. Drip a little of your contrast color onto scrap paper, dip the rounded head of a bobby pin into it, and press dots onto the nail. Re-dip after every one or two dots to keep them the same size. Random scatter looks better than attempted rows — this is the rare design where planning less improves the result.
2. The Accent Nail
Needs: two polishes. Time: ~25 minutes.
Paint every nail one color and the ring finger a different one — that's the whole technique. It reads as deliberate design for zero added skill. Once this feels easy, put a polka-dot or glitter nail in the accent position and keep the rest plain.
3. Glitter Gradient Tips
Needs: base polish, glitter polish. Time: ~30 minutes.
Over a dry base color, brush glitter polish along just the tip, then make a second, lighter pass slightly further down the nail. The glitter naturally thins as you drag it, creating a fade with no technique at all. Because glitter is textured, it hides every imperfection underneath — this is the most forgiving design on the list.
4. Tape Stripes
Needs: two polishes, tape. Time: ~40 minutes.
Paint the base color and let it dry completely — this is the step people rush, and wet base is why tape designs smear. Press a strip of tape across the nail, paint the exposed section in your second color, and peel the tape off while the paint is still wet. Pulling while wet gives the sharpest line; waiting until it dries can chip the edge.
5. Dotted French Tips
Needs: two polishes, bobby pin. Time: ~35 minutes.
A classic French tip requires a smooth curved line — genuinely hard freehand. The beginner version replaces the line with a row of dots along the tip. Nobody can tell a dot is 0.5 mm off course. Use white dots over a sheer pink base for the classic look, or any contrast pair you like.
6. Half-Moon Nails
Needs: two polishes, hole-reinforcement stickers (or tape). Time: ~40 minutes.
Stick a hole-reinforcement sticker over the base of your dry base coat so it masks a curve near the cuticle, paint the rest of the nail in your second color, and peel while wet. The sticker's die-cut curve does the precision work for you.
7. Two-Tone Diagonal
Needs: two polishes, tape. Time: ~40 minutes.
Same method as tape stripes, but place one piece of tape corner-to-corner so the nail splits into two triangles of color. High contrast pairs (navy and white, black and nude) make this look far more advanced than it is.
8. Sponge Gradient (Ombre)
Needs: two polishes, makeup sponge. Time: ~45 minutes.
Paint the lighter color as your base. Brush both colors side by side onto a sponge wedge so they slightly overlap, then dab the sponge onto the nail with a light bouncing motion. Repeat two or three times, letting each layer sit a minute. It looks speckled until the top coat goes on — the top coat melts the texture into a smooth fade, so don't judge the design before that step. Expect messy edges; this design is exactly what the cleanup swab is for.
9. Abstract Squiggles
Needs: two or three polishes, toothpick. Time: ~40 minutes.
Drag a toothpick loaded with polish in loose, curved lines across a dry base — one or two squiggles per nail, in one or two contrast colors. The style is intentionally irregular, which means your wobble is the design. This is the current-favorite "minimalist art" look, and it's easier than any straight line.
10. Simple Flowers
Needs: two or three polishes, bobby pin. Time: ~45 minutes.
A five-dot flower: place five dots of one color in a circle, then one dot of a second color in the middle. That's it — the dots don't even need to touch. Put one flower near the corner of an accent nail rather than covering every finger; sparse placement looks more skilled, not less.
Design Cheat Sheet
| Design | Tool | Time | Forgiveness |
|---|---|---|---|
| Polka dots | Bobby pin | ~30 min | Very high |
| Accent nail | None | ~25 min | Very high |
| Glitter gradient | None | ~30 min | Very high |
| Tape stripes | Tape | ~40 min | High |
| Dotted French | Bobby pin | ~35 min | High |
| Half-moon | Stickers | ~40 min | High |
| Diagonal | Tape | ~40 min | High |
| Sponge ombre | Sponge | ~45 min | Medium |
| Squiggles | Toothpick | ~40 min | High |
| Simple flowers | Bobby pin | ~45 min | Medium |
Five Habits That Make Every Design Look Better
- Thin coats, always. Two thin coats dry faster and chip less than one thick coat, and thick polish is what smears under tape and dotting tools.
- Let the base dry fully before decorating. "Dry to the touch" takes about 10–15 minutes with thin coats; tape and stickers need the full dry or they'll lift color when peeled.
- Clean up after, not during. Painting onto skin and erasing it with a remover-dipped swab is faster and neater than painting cautiously.
- Top coat everything. It levels dots, seals glitter, smooths sponge texture, and adds days of wear. Wait a few minutes after your art so the brush doesn't drag it.
- Shape before you paint. A tidy, even nail shape upgrades even a plain single color — and some designs genuinely sit better on some shapes than others. Our guide to nail shapes and which suits your hands is the place to start if your nails are currently ten different lengths.
When Something Goes Wrong
- Smudged a nail an hour in? Don't repaint from scratch. Smooth the smudge gently with a remover-dampened fingertip, let it dry, and dot or glitter over the spot. Designs hide repairs; plain polish doesn't.
- Bubbles in the polish? Usually from shaking the bottle or thick coats. Roll the bottle between your palms instead, and go thinner.
- Design chips by day two? Add a base coat under your color and re-apply top coat every couple of days. Regular polish on natural nails typically wears well for around three to five days depending on how much your hands do.
- Nails feel dry or peel-y after lots of removal? Space out your manicures and use cuticle oil. If a nail change persists — discoloration, lifting, pain — that's a question for a dermatologist, not a polish fix.
Where to Go Next
Once dots and tape feel routine, you have real options: longer-wearing systems, more precise tools, more ambitious designs. The rest of our tutorials build on exactly these techniques, and when you're tempted by a two-week manicure, read up on gel vs acrylic first so you know what each system costs to apply, wear, and remove. But don't rush past this stage — a clean accent nail you did yourself in twenty-five minutes beats an overreaching design every time.