How to Do French Tip Nails at Home: 3 Easy Methods
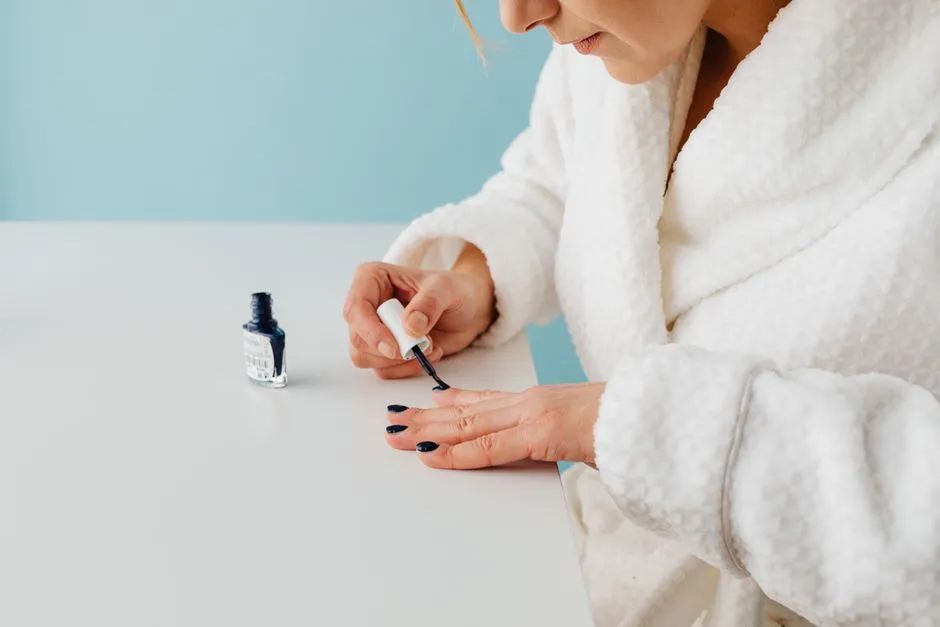
- How to Do French Tip Nails at Home
- How Dry Does the Base Need to Be?
- What You Need
- Prep the Nail Without Damaging the Cuticle
- Choose the Smile Line Before You Paint
- Method 1: Tape or Sticker Guides
- Method 2: Freehand With a Fine Brush
- Method 3: Paint, Then Clean the Curve
- Which French-Tip Method Should You Use?
- French Tips on Short Nails
- Troubleshooting Uneven or Messy French Tips
- How to Seal the Tip and Make It Last
- Can You Use These Methods With Gel Polish?
- Variations After the Classic White Tip
How to Do French Tip Nails at Home
To do French tip nails at home, apply a base coat and one or two thin coats of sheer pink, beige, or nude lacquer. Once that base is fully hardened, add the tip with a guide, a fine brush, or the cleanup method. Let the white lacquer settle, then cover the whole nail with top coat and cap the free edge.
The three methods solve different problems. Tape or curved stickers give a beginner a boundary. A fine brush is quickest once your hand is steady. The cleanup method lets you paint first and refine the curve afterward. The best method is the one that gives you control without making you rush the base.
How Dry Does the Base Need to Be?
For freehand painting, the base only needs to be firm enough that a light brush does not drag it. Adhesive guides are less forgiving: the lacquer underneath must be hard enough to withstand pressure and peeling.
The familiar 15-20 minute wait is not a reliable definition of "fully dry." Essie's current lacquer guidance says a completed base-color-top-coat manicure should sit for about 15 minutes, but may take 2-3 hours to dry completely. It also recommends 30-60 seconds between ordinary lacquer coats. Formula, coat thickness, temperature, and humidity all affect the result.
If you plan to use tape, the safest schedule is to paint the sheer base several hours earlier or the previous day. If you cannot wait, choose freehand or cleanup instead. Test a guide on one nail before placing nine more: if it leaves a mark or lifts color, the base is not ready.
What You Need
- Base coat. Use the base coat recommended for your lacquer system.
- Sheer color. A milky pink, soft beige, or nude gives the classic look. One or two thin coats are enough; clear lacquer also works if you want the natural nail visible.
- Tip color. Opaque white is classic. Off-white or any other color uses the same placement technique.
- Top coat. Gloss is traditional, while matte changes the finish without changing the design.
- One precision tool. Choose curved French-tip stickers or tape, a fine nail-art brush, a small clean eyeliner brush, the trimmed clean brush from an empty polish bottle, or a small firm cleanup brush.
- Polish remover and a lint-free pad. Pure acetone gives a cleanup brush a precise edge, but it dries skin and nails, so keep the brush damp rather than dripping and moisturize afterward.
If you are building a small kit rather than using what you already own, our nail art for beginners guide separates useful basics from optional extras.
Follow the ventilation, flame, and skin-contact instructions on every product. Stop using a product if it causes irritation. Persistent pain, nail lifting, discoloration, or a suspected infection belongs with a dermatologist or doctor, not a cosmetic workaround.
Prep the Nail Without Damaging the Cuticle
- Remove old polish, wash and dry your hands, then wipe the nail plates with remover so lotion and surface oil do not interfere with adhesion.
- File the nails into the shape you want. Round, squoval, almond, and square nails can all carry a French tip; our nail-shape guide shows how their edges differ.
- Leave the cuticle intact. The American Academy of Dermatology's manicure guidance says never to cut or forcefully push it back because that raises infection risk. If it must be moved, the AAD says to do so gently after a shower or bath.
- Apply base coat, then one or two thin sheer-color coats. Thin layers dry more evenly than one thick layer.
- Give each coat its product-specified drying time, and give the finished base the longer hardening time needed for your chosen tip method.
Choose the Smile Line Before You Paint
The smile line is the lower edge of the colored tip. Decide where three points will sit: one at each sidewall and one at the center. Matching those landmarks across all ten nails matters more than making every curve mathematically identical.
For a natural-looking French tip, place the line close to where the nail's free edge begins. On longer nails, a deeper curve with slightly lower endpoints can make the nail look more elongated. For a micro French, keep the line narrow and near the outer edge. Essie's French manicure tutorial similarly recommends tracing the natural tip, building the line in short strokes, and adjusting the curve depth to change the look.
Method 1: Tape or Sticker Guides
This is the easiest method when the sheer base has had enough time to harden.
- Press ordinary tape lightly against clean skin once to reduce its tack. Purpose-made curved guides can be used directly unless their instructions say otherwise.
- Place the guide so its two ends meet the planned sidewall points. Look at the whole hand before pressing it down; this catches one band that is visibly wider than the others.
- Seal the guide's edge, especially at both corners. Any gap is a route for wet polish.
- Paint a thin coat over the exposed tip, moving the brush away from the guide edge rather than pushing lacquer toward it.
- Peel the guide back slowly while the white coat is still wet. If the polish dries across the guide, the film can tear when the guide moves.
- Let the tip settle. Add a second thin white coat with a detail brush only where coverage needs it, then apply top coat.
If the base lifts, more waiting is the fix. If white bleeds underneath, the guide was not fully sealed or too much polish pooled at its edge.
Method 2: Freehand With a Fine Brush
Freehand is fast and gives you control over the curve. It does not require one perfect sweep.
- Mark a small point at each side where the smile line should end, then mark its lowest point at the center.
- Brace both forearms on the table. Rest the side of the painting hand as well; a supported hand moves less than a floating one.
- Join the three landmarks with short, shallow strokes. Turn the finger being painted to meet the brush instead of forcing the wrist around the nail.
- Fill the area above the line with the bottle brush, using a thin coat.
- Compare the five nails at arm's length. Correct width differences that show at normal viewing distance, then let the tips settle and apply top coat.
Paint the dominant hand first, while the non-dominant painting hand is rested and your concentration is fresh. If that still feels awkward, use the cleanup method on that hand and freehand the easier side.
Method 3: Paint, Then Clean the Curve
The cleanup method separates coverage from precision: first cover the tip, then shape its lower edge.
- On the dry sheer base, paint the white tip a little deeper than the finished band. Use a thin coat rather than a thick blob.
- Put a small amount of pure acetone in a separate dish. Dip a small, firm brush and wipe off the excess; liquid should not run toward the cuticle or surrounding skin.
- Sweep the damp brush along the lower edge of the white, working from one side toward the center. Wipe the brush on a lint-free pad between passes.
- Make light passes. Acetone will also dissolve the sheer base if you scrub or hold the brush in one place.
- Once all ten curves match, let the tip color settle and apply top coat. Moisturize the surrounding skin after the manicure is dry.
This is also a useful rescue method for a freehand line that is smooth but slightly too deep. Essie's tutorial likewise recommends a small cleanup brush with pure acetone for stray wet lacquer.
Which French-Tip Method Should You Use?
| Method | Learning curve | Setup speed | Edge control | Best fit |
|---|---|---|---|---|
| Tape or stickers | Easiest | Slowest because every guide must be placed | Crisp when the base is hard and edges are sealed | A first attempt with plenty of drying time |
| Fine-brush freehand | Hardest at first | Fastest once practiced | Fully controlled by the painting hand | Repeated manicures and custom curves |
| Cleanup method | Easy to medium | Medium | Very precise because the curve is edited after painting | Curved smile lines and correcting freehand tips |
Tape remains the simplest starting point; cleanup is the forgiving next step; freehand becomes efficient when the brush starts to feel natural.
French Tips on Short Nails
Short nails can wear a full French tip or a micro French. Keep the white band proportional to the visible nail plate: the old rule of thumb is about the top fifth, but it is a visual starting point, not a measurement standard. On many short nails, a 1-2 mm band is enough. If the natural free edge is shorter, trace that edge instead of forcing a fixed width.
A narrow band leaves more sheer base visible, which creates the lengthening effect people usually want from a micro French. It can also be easier to keep symmetrical on short nails because there is less curve to paint. Follow the natural curve rather than cutting a deep smile line into the nail bed.
Troubleshooting Uneven or Messy French Tips
| Problem | Likely cause | Practical fix |
|---|---|---|
| Base color lifts with the guide | The base was surface-dry but not hardened, or the tape was too tacky | Wait several hours or overnight; de-tack ordinary tape on clean skin and test one nail |
| White polish bleeds under the guide | A corner was not sealed, or polish pooled at the edge | Press both side edges down and use one thin white coat |
| The edge tears when the guide comes off | The tip dried across the guide | Remove the guide while the white is still wet and pull it back slowly |
| Smile lines lean to one side | The side endpoints were placed at different heights | Mark both sides and the center before connecting them |
| The white band looks bulky | Too many coats are stacked at the tip | Use a more opaque white in thinner coats and avoid repainting the whole band for one small gap |
| Top coat drags the white | The tip has not settled, or the brush is making repeated passes | Wait longer, load enough top coat for the brush to glide, and use light strokes |
How to Seal the Tip and Make It Last
When the white is stable, float top coat from the base of the nail over the tip without repeatedly brushing the smile line. Then cap the free edge by running the top-coat brush lightly along the nail's outer edge. OPI's professional French application also caps the free edge at the color and top-coat stages.
Regular lacquer wear varies with the formula, nail condition, handwashing, housework, and how often the nail edge hits hard surfaces. Several days to about a week is a realistic planning range, not a promise. Essie advises reapplying top coat every other day; a two-to-three-day rhythm is a practical equivalent. Wear gloves for wet or chemical-heavy chores and do not use the nail tips as tools.
Can You Use These Methods With Gel Polish?
The smile-line planning transfers to gel, but the product process is not interchangeable with ordinary lacquer. Use compatible base, color, and top coats, the lamp specified for that system, and the exact cure times on its instructions. Do not copy a cure time from another brand: for example, OPI's tutorial specifies 30-second stages in its named OPI lamp, which is evidence for that system only.
If your target is roughly two weeks of wear, gel may be more suitable than regular lacquer, but application and removal bring different tradeoffs. The AAD's gel-manicure guidance recommends broad-spectrum, water-resistant SPF 30 or higher on the hands before gel curing, or dark opaque fingerless gloves, and warns against picking gel off. Our gel-versus-acrylic comparison covers wear and removal in more detail.
Variations After the Classic White Tip
Once you can place an even line, the French tip becomes a layout rather than a color rule. Swap white for one color, give every nail a different tip, add a second narrow line, or use glitter only along the smile line. Keep the same order: thin base layers, planned landmarks, controlled tip color, and a sealed free edge. Browse the design ideas hub for shapes and color directions that fit the nail length you have.
The useful standard is consistency across the hand, not a flawless close-up of one nail. Choose a method that suits the time available, let the layers harden, and correct only the differences visible at ordinary viewing distance.