How to Use a Nail Dotting Tool: Placement and Spacing
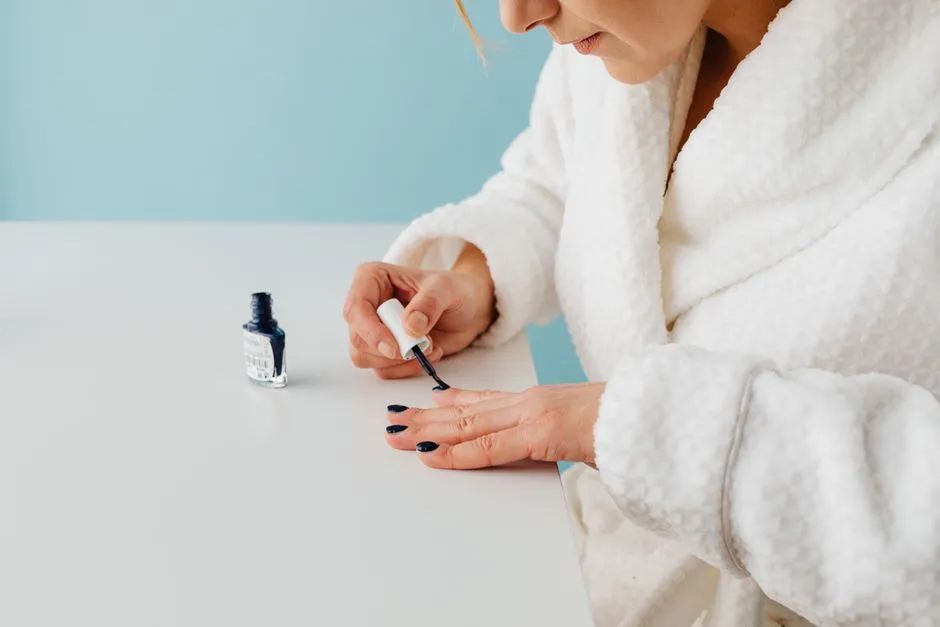
- How do you use a nail dotting tool?
- Which end should you choose?
- What should be ready before the first dot?
- How do you load, place and reload?
- Can you plan spacing without opening polish?
- What should you record when a dot looks wrong?
- How should you clean the tool?
- When should you stop completely?
- Frequently asked questions
- Sources
How do you use a nail dotting tool?
Use a lacquer-compatible nail dotting tool to pick up ordinary polish and place a dot on a dry nail, following the product instructions. Choose one tip and reload consistently while learning; its stated size is not a guaranteed finished-dot diameter. Keep polish off skin and follow ventilation and flammability warnings. Stop and contact a clinician for any reaction; breathing or swallowing difficulty needs emergency medical attention.
A dotting tool gives you a solid working end instead of brush bristles. This is a desk-researched guide to manufacturer instructions with an original planning exercise; we have not tested tools, polish or wear.
Which end should you choose?
Identify the actual working end before loading it. Use a tool intended for your ordinary lacquer, with an intact tip. A damaged end needs manufacturer advice or replacement, not scraping or reshaping.
For a specific sizing example, Lights Lacquer's Dotting Tool Kit lists L1 at 0.5 mm, L2 at 1.2 mm, L3 at 0.9 mm and L4 at 2.0 mm. Those labels are not a smallest-to-largest sequence: L3 is smaller than L2. Read the measurements rather than treating the identifier as a size ranking.
They are tool specifications, not promised dot diameters. Do not write “2 mm dots” in a design plan merely because you selected L4.
Choose one end for the first few separate dots. Keep the other ends clean and identifiable so an accidental switch does not become an unexplained change in your results. Our brush-types guide explains when a bristle brush serves a different mark-making task.
What should be ready before the first dot?
Read the lacquer, base, finish, tool and remover labels. This tutorial does not set drying intervals or prescribe a mix of product systems. Lights Lacquer explicitly directs its tool onto a dry nail; allow any underlying coating to reach the readiness its own instructions require.
Use good ventilation, protect eyes and keep products away from flames, heat sources and children. FDA notes that nail products can cause infections or allergic reactions and directs consumers to follow warnings. Do not add remover to polish or deliberately paint skin for later cleanup. FDA nail-product guidance
Do not cut or forcefully push back cuticles to create more room; the AAD connects that manipulation with infection risk. Painful, inflamed or otherwise concerning nails need professional assessment before cosmetic work. AAD manicure safety
How do you load, place and reload?
The basic manufacturer action is simple: dip the working end into polish, then place dots. Both Lights Lacquer and Holo Taco's tool instructions describe that action. Holo Taco specifies applying promptly after pickup.
Use the following as a controlled editorial approach around those instructions, not a manufacturer's guaranteed technique:
- Choose a sparse layout before opening the polish.
- Load only the intended working end using the product's directions.
- Make a brief placement within the nail boundary, then lift rather than drawing a line.
- Reload before the next separate dot while learning, keeping the end and product unchanged.
- Stop adding marks before space runs out. Follow your finish's application and drying directions.
No pressure value or fixed reloading interval is established here. Reloading each time is a proposed way to keep your actions consistent, not proof of equal deposits. Keep the product off surrounding skin; do not increase force to compensate for a poor mark.
An uneven dot is not an instruction to keep working the same wet spot. Pause, observe and review the directions. Follow product-specific removal instructions if you abandon the design; do not scrape it off.
Can you plan spacing without opening polish?
Yes. Sketch a nail outline with an ordinary pencil on paper. This is a layout exercise, not a chemically compatible practice surface or a result from testing polish.
For an original example, draw three rows containing two, three and two circles. That is seven planned dots: 2 + 3 + 2 = 7. Leave visible space between their edges and inside the outline. The middle row has one more circle, not a requirement for a wider tool.
Compare it with a second sketch containing three circles in a single column. Decide which arrangement you prefer before attempting either design. Do not interpret the sketch's scale as a measurement of your nail or assume every drawn circle will fit.
Our design ideas section supports that planning choice. A simpler layout remains a complete design, not an unfinished version of a crowded one.
What should you record when a dot looks wrong?
Separate what you saw from what you think caused it.
| Observation | Useful check | Avoid |
|---|---|---|
| A tail follows the dot | Note whether you moved sideways before lifting | Declaring the polish defective from one mark |
| Later dots differ from the first | Record the tool end and whether you reloaded | Assuming every difference comes from pressure |
| Neighbouring dots meet | Revisit the intended spacing on paper | Scraping between wet dots |
| Product behaves unlike its directions | Check identity, compatibility and tool condition | Adding solvent or pressing harder |
Change one non-chemical choice at a time, such as the planned spacing. Do not describe burning or a rash as a technique problem. Keep nail-care questions separate from decisions about decoration.
How should you clean the tool?
Use its own maker's directions. Lights Lacquer specifies polish remover for its kit. Holo Taco gives a more detailed sequence for its own tools: remove still-wet polish with a paper towel and/or its permitted remover, then rinse the tips in water and pat fully dry after solvent use. Neither example authorizes the same method for every tool.
Follow the cleaner's ventilation, fire, eye and disposal warnings. Do not pour out solvent or mix cleaners for an improvised soak. If residue has dried and the maker does not provide a method, ask rather than scraping it with a sharp object.
Visible polish removal is not disinfection. Keep personal tools personal; for salon tools, ask about cleaning procedures, as the AAD recommends.
When should you stop completely?
Stop using the product and contact a healthcare professional for a reaction. Breathing or swallowing difficulty, fainting or other severe allergic-reaction signs need emergency medical attention. Do not perform a home skin test or continue decorating through symptoms. FDA cosmetic-allergy guidance
This ordinary-lacquer method is not a gel lesson. BAD warns that uncured artificial-nail products touching skin and insufficient curing can increase sensitization risk. Seek appropriately trained professional guidance for those systems; a small dot is not an exemption from their precautions. BAD warning
Frequently asked questions
How do I make dots the same size?
Start with the same tool end and product, and choose one reloading routine rather than changing several things together. Compare the marks without assuming the tip's measurement equals their diameter. Our suggestion to reload before each separate dot is a consistency exercise, not a tested guarantee that every mark will match.
Can I use gel with these instructions?
No. This guide covers ordinary air-dry lacquer, not a gel application system. Uncured artificial-nail product on skin and insufficient curing can increase sensitization risk. Do not substitute a lamp cycle or copy these steps into gel work; seek appropriately trained professional guidance and the exact manufacturer's instructions for that system.
Should I press harder when a dot looks uneven?
Do not use more force to correct a poor mark. Pause and check the chosen end, its cleanliness, the compatible product and your movement against the maker's directions. A tail or uneven circle is an observation, not proof of one cause. Do not scrape the nail or pick at drying polish.
Can every dotting tool be cleaned with acetone?
Do not assume so. Use the particular tool's cleaning instructions and the remover's warnings. Holo Taco permits specified solvent cleaning followed by water rinsing and full drying for its own tips; that does not establish compatibility for another tool. Removing visible polish is also not proof that a shared tool has been disinfected.
What if nail polish causes burning or a rash?
Stop using the product and contact a healthcare professional. Do not try another coat, home skin test or stronger cleanup routine to work through a reaction. Keep the product information for the clinician. Trouble breathing or swallowing, fainting, or other severe allergic-reaction signs require emergency medical attention; do not continue the manicure.
Sources
- Lights Lacquer: Dotting Tool Kit — labelled sizes, dry-nail application and cleaning.
- Holo Taco: Dotting Tools — pickup, application and tool-specific cleaning.
- FDA: Nail Care Products — exposure warnings and reaction routing.
- AAD: Manicure safety — cuticle and tool-cleaning care.
- FDA: Allergens in Cosmetics — clinician and emergency routing.
- BAD: Artificial-nail warning — skin contact and curing risks.